Fairy gardens aren’t just for kids; they’re like little escapes for the young at heart. Picture creating a tiny world brimming with charm, where each detail matters, from the fairy house to the plants around it. Ever thought about how you could craft your own magical haven? With some creativity and a few quirky ideas, you can build a delightful space that reflects your personality. Let’s explore some charming designs that might just spark your imagination.
Whimsical Miniature Landscapes
Creating whimsical miniature landscapes in your fairy garden is all about imagination and fun.
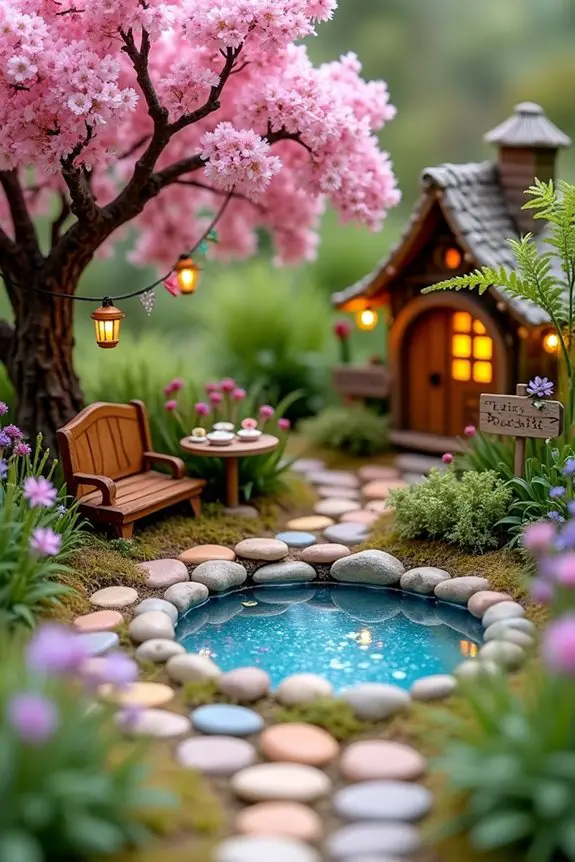
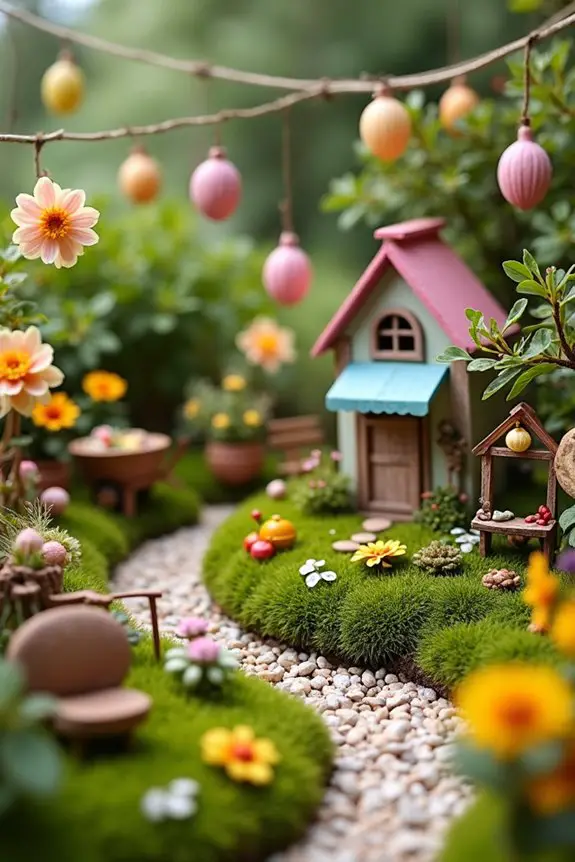
Think about where you’ll place those tiny houses, mixing in vibrant plants for a pop of color—trust me, nothing says “fairy magic” like a splash of pink next to your little stone cottage.
And let’s not forget about those cute pathways and twinkly lights that’ll make your garden feel like a hidden wonderland—who wouldn’t want to wander through a fairytale?
1. Fairy House Placement Strategies
When it comes to fairy house placement, it’s all about finding a sweet spot that combines charm and accessibility. You want to create a magical atmosphere while also making it easy for your little fairy friends to pop in for a visit. Plus, the right positioning can turn even the simplest of gardens into a whimsical wonderland that sparks joy.
First things first, think about light. Fairy houses love a good sunbath just like we do. Find a spot that gets dappled sunlight throughout the day. It makes the colors pop and creates those enchanted shadows—perfect for the fairies to dance about. And let’s be real, who wouldn’t want their little creations basking in the warm glow?
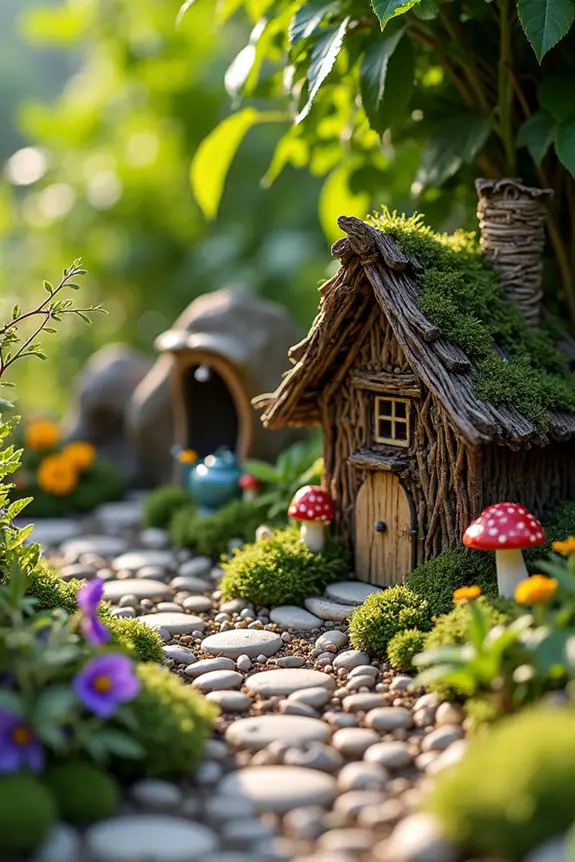
Next, consider the landscape. A fairy house nestled between rocks or hidden under a leafy plant can add depth and intrigue. It’s like giving the fairies a cozy, sun-kissed nook to call home. If you have a climbing vine or a low shrub, pop that fairy house nearby. It not only looks adorable but also creates natural hiding spots. Trust me; the fairies love a good game of hide-and-seek.
Now, let’s talk about proximity. Don’t just plop your fairy house wherever. Think about the flow of your garden. Position it near appealing features like a small fountain, a vibrant flower bed, or even a whimsical garden chair—because you know, fairies enjoy a cup of tea too (or maybe just a sprinkle of magic dust). This keeps the fairy house inviting and the scene lively.
Finally, make it personal. Feel free to decorate the outside with pebbles, tiny toadstools, or even a few sparkly stones. Scatter some miniature items around the garden path leading to the door. I once used buttons for a cheerful and quirky vibe—not exactly fairy-sophisticated, but they seemed to love it. It added fun and I still find them twinkling in the sun.
In short, the right placement generates good vibes and keeps the fairies happy, making your fairy garden an enchanting retreat, not just for them but for you too. A cordless leaf blower can help you maintain this magical space by efficiently clearing away leaves and debris, allowing your creativity to shine. So, grab your fairy houses, toss on some creativity, and watch your garden come to life!
2. Colorful Plant Arrangements
When it comes to creating enchanting fairy gardens, colorful plant arrangements can transform a simple space into a whimsical landscape that feels straight out of a storybook. Imagine vibrant shades of pink, purple, and green dancing together like a celebration of nature. Not only do these arrangements bring charm, but they also serve a functional purpose, attracting those delightful little winged friends to visit your garden.
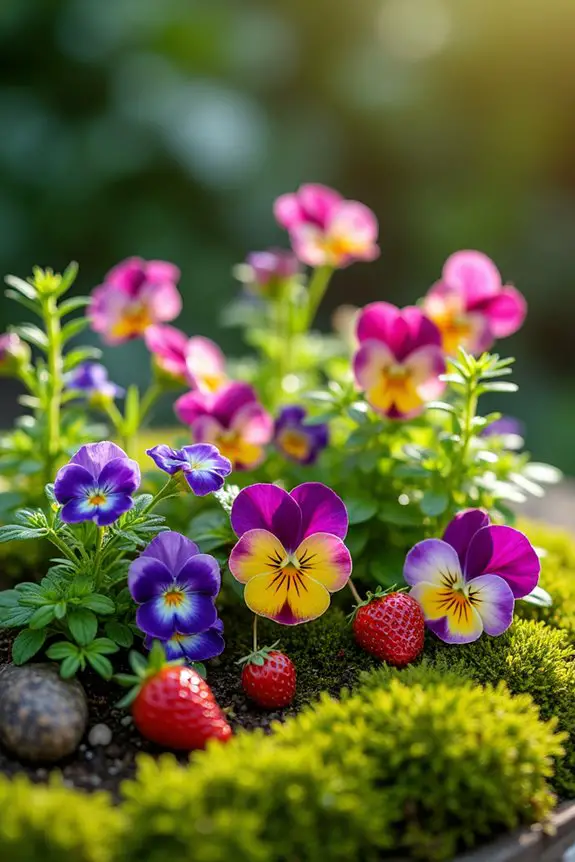
First, let’s talk about choosing your plants. Opt for a mix of flowers, ferns, and even tiny shrubs that complement each other in colors and textures. Think about pairing pastel blossoms with rich green leaves. For instance, consider using miniature pansies for a pop of color and creeping thyme as a lovely ground cover. As they hug the soil, they create a lush, inviting home for fairies.
But let’s be honest—choosing plants can feel like picking out an outfit; you want to look good while staying comfortable, right?
Next, think layering. Just like how you’d stack your favorite books or pastries for the perfect display, arrange your plants in layers. Taller plants can stand proudly at the back, while shorter friends take center stage. This not only adds depth but also creates little hideaways and nooks where fairies might just decide to take a quick break. You wouldn’t want them wandering around lost, would you?
And don’t shy away from adding a dash of whimsy through colors. Have you ever thought about how adorable a splash of bright yellow flowers would look against deep green foliage? Or adding some purple petunias for a funky touch? It’s a bit like mixing flavors in your favorite dish; a little sweetness, a pinch of spice, and suddenly, you’ve got a feast for the eyes.
Now, here’s a little secret: don’t forget about seasonal planting. If you live in a place with varying seasons, consider planting something that blooms at different times throughout the year. This keeps the garden lively and ever-changing, ensuring fairies have a reason to drop by every time the seasons shift.
Imagine their surprise in spring when they find new blossoms waiting for them after a long winter.
Lastly, sprinkle in some edible plants if you can. Tiny strawberries or even herbs like mint can add a delightful touch, just in case you want to throw a fairy picnic. After all, who wouldn’t want to host a tea party for magical friends?
That said, be prepared for the possibility that fairies might love mint tea much more than you expected.
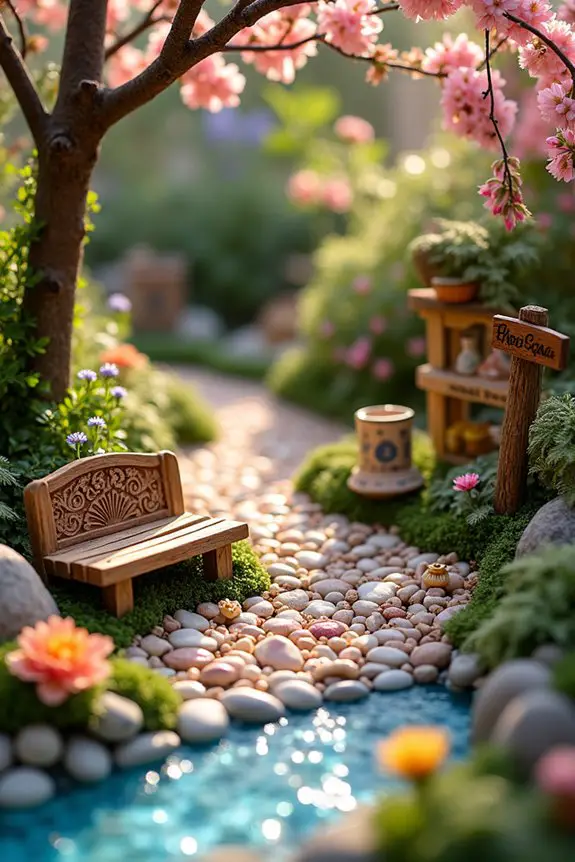
3. Natural Pathway Techniques
Creating natural pathways in your fairy garden doesn’t just add charm—it also guides the little guests (and you) through the magical landscape. Imagine gently winding paths made of pebbles, moss, or even wood slices, beckoning fairies to stroll leisurely through their enchanting home. It’s like making a tiny, magical hiking trail right in your backyard.
To start, think about what materials you have on hand. Small stones from your last beach trip or twigs from that overly ambitious pruning session could be perfect. If you have larger stones, arrange them more like stepping stones; it helps create a sense of adventure. And hey, who doesn’t love stumbling upon a hidden fairy cottage? It’s like finding the last piece of chocolate in a hidden stash, except this time, it’s fairy-sized.
Now, when laying down your pathway, consider the natural flow of your garden. Let’s be honest, no one wants a chaotic jumble where fairies might trip over themselves. Imagine the embarrassment! Instead, create gentle curves that mimic the strolls we dream about on warm, sunny days. And don’t be afraid to let your pathway meander. It adds a sense of exploration, as if every turn might reveal a new fairy surprise just waiting to be discovered.
Plant some ground cover on either side of your path. Think of how inviting it feels when walking through a garden with lush greenery bordering the way. Creeping thyme or plush moss can create that cozy, fairy-approved vibe. If you want to show off a little, plant colorful flowers along the edges too. It’s like putting sprinkles on a cupcake—pretty and tasty!
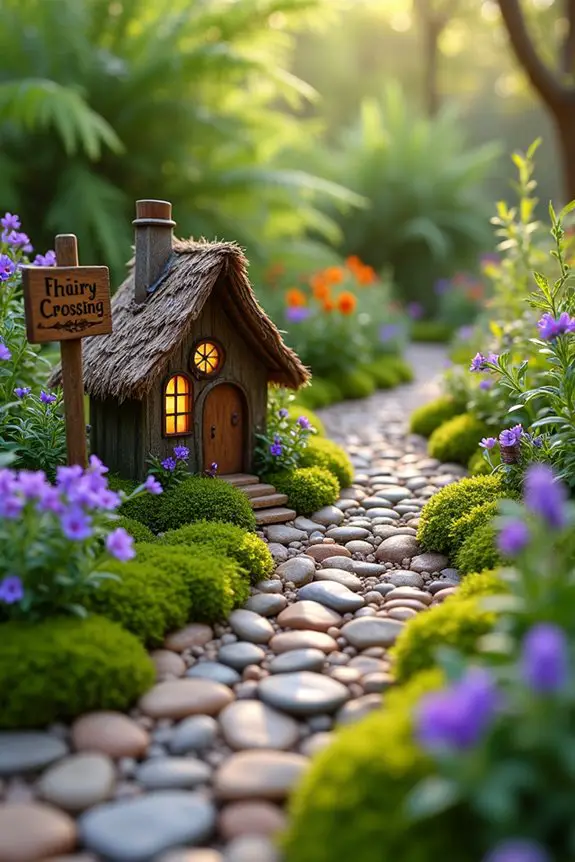
Lastly, sprinkle in a few fairy signs or mini decor pieces along your path. Little signs that say “Fairy Crossing” or tiny lanterns can really set the mood. Just picture it: walking through a garden where each step whispers secrets of magic, beckoning you to keep going. When you combine a thoughtfully planned path with bursts of surprise, the fairies—and anyone who visits—will absolutely love your miniature world. Now that sounds enchanting, doesn’t it?
4. Seasonal Theme Variation
When you think about fairy gardens, seasonal themes can sprinkle even more magic into your design. It’s like giving your tiny landscape a wardrobe change, ensuring it’s dressed for every occasion—just like us, fairies enjoy a little variety. So why not embrace the seasons? Each one offers a chance to transform the look and feel of your enchanted domain.
For spring, think pastel colors and blooming flowers. You can place tiny daffodils or cheerful daisies among your fairy houses. Imagine the fairies throwing a tea party, sipping sweet dew from acorn cups while daisies nod in approval. You want that vibrant, fresh energy, so maybe throw in a little fairy wheelbarrow loaded with faux veggies. Just a tip: don’t dig too deep into the soil; those little roots can tangle and drama is out of style. A folding hand saw can be a handy tool for creating whimsical garden features without disturbing your plants too much.
As summer rolls in, the lush greens can turn into a tropical getaway. Hang paper lanterns amid tiny palm trees crafted from miniature leaves or offer sleepy fairies a sunbed made of soft moss. Pop in some bright sunflowers and maybe a tiny lemonade stand. Cozy chairs made from shells? I mean, who wouldn’t want to lounge like a fairy in style? But let’s keep it breezy—no one wants to overhear fairies gossiping about the weather.
Fall brings the warmth of oranges, reds, and golden hues that can make your garden feel like a cozy retreat. Tiny pumpkins scattered throughout would be adorable; I recommend making them from painted stones if you’re feeling crafty. Add in some rustling leaves (because nothing says fall like crunchy leaf sounds), which you can create using colored paper cutouts. Just remember, when your fairies try to house those leaves, they shouldn’t be as crinkly as last month’s lunch—you want them charming, not frightfully crunchy.
Winter is a whole different world where frost and sparkle reign! Think about draping your garden in faux snow or dazzling crystals that make it shimmer in the sunlight. You could even set up a tiny ice-skating rink from a shiny piece of foil—yes, ice skates can be borrowed from your children’s toy stash. Many gardeners use eco-friendly seed starter pots to begin new plantings, ensuring sustainability in your enchanting garden.
And don’t forget to sprinkle in a few pinecones; they double as trees and cozy winter decorations. Just make sure the fairies don’t think they’re fairy-sized snowmen.
5. Lighting for Magical Effect
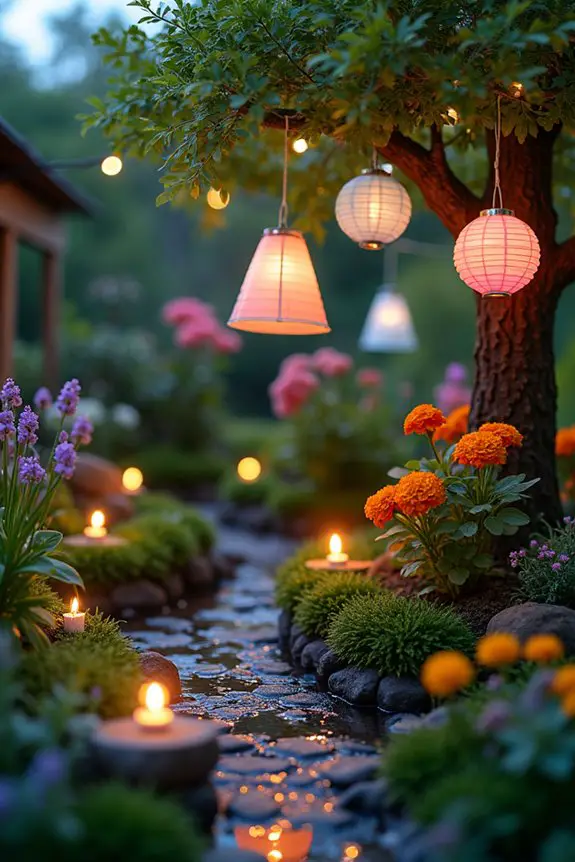
Creating the right lighting for your fairy garden is like adding the perfect seasoning to a dish—it can elevate the entire experience. Good lighting doesn’t just help the fairies see their way around; it casts a dreamy, whimsical glow that makes your miniature landscape come alive. Envision this: twinkling lights that mimic stars or flickering lanterns that dance in the breeze. Your garden transforms from a charming setup to a magical scene straight out of a fairy tale.
First up—the ever-popular fairy lights. You can string these delicate wonders around the edges of your garden or weave them through branches. Use battery-operated ones for ease—less chance of fairy mischief and shorts. I once tried solar-powered lights, thinking they’d be perfect. But when the sun set and my garden was still in darkness, it gave new meaning to the term “sleeping fairies.” Worm castings bag can enhance the health of your plants, making your garden even more enchanting.
Next, consider lanterns. Tiny paper or cardboard lanterns hanging from branches can create a warm ambiance. You might even try making them yourself! It’s actually quite simple. Just cut out shapes, fold them into little boxes, and use a candle (LED ones are safest) for a soft glow inside. It’s like getting a glimpse into the fairies’ private evening gatherings; who wouldn’t want to be a part of that? You could totally catch them discussing the gossip from the last tea party.
Don’t overlook the ground—place small candles or lights snuggled among the plants. This creates a lovely effect, kind of like little fireflies waking up after a long nap. Just be careful where you tread; no one wants to accidentally stomp on a fairy’s evening stroll.
If you’re feeling adventurous, you might also use colored lights to mimic the changing seasons—blues for winter wonderlands, soft pinks for spring blooms…you get the idea. Additionally, incorporating solar garden pond lights can enhance the aquatic features of your fairy garden, reflecting the shimmering beauty of light on water.
6. Layered Terrain Techniques
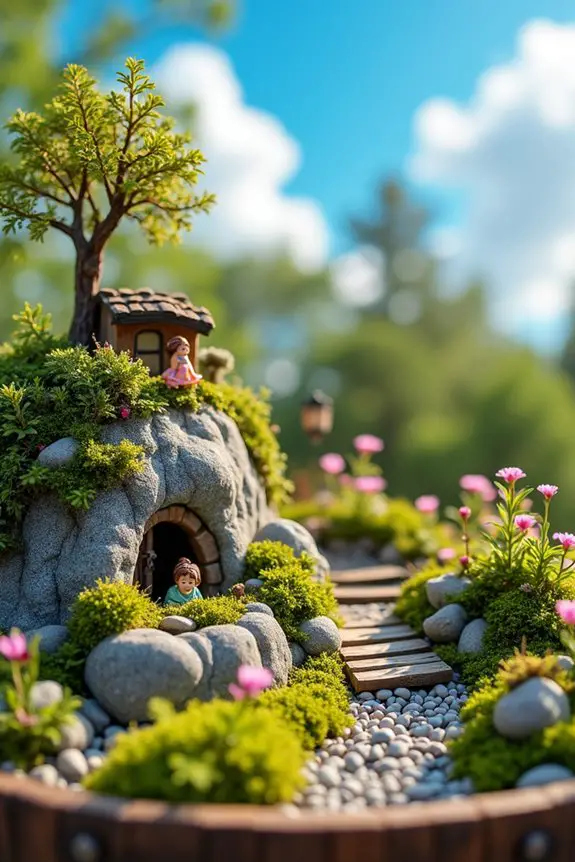
Creating layered terrain in your fairy garden isn’t just a fun activity; it’s a game-changer for your miniature landscape. This technique adds depth and dimension, turning a flat space into a charming, multi-level wonderland. It’s like giving your garden a personality, making it dynamic and inviting for those little magical creatures.
To start, think about mixing different materials for your layers. You might use small stones or pebbles to create a rocky hillside. I remember my first attempt—I overfilled my container with rocks, thinking I was building a massive mountain. Spoiler alert: it ended up looking more like a lumpy pancake than a stunning vista. A good balance makes all the difference.
Next, create height by stacking soil or using small planters. This sets the stage for tiny flower beds, treetop hideaways, or little fairy paths winding through. If you’re feeling extra crafty, you can add wooden planks or cardboards, cut to size, giving a platform effect. Trust me, fairies love a scenic overlook.
Don’t forget the plants; they’re the icing on the cake of your layered creation. Dwarf plants or moss work wonders here, filling in gaps and offering rich textures. Make sure to play around with colors and sizes, so your garden looks like it’s bursting with life and adventure.
Lastly, don’t be afraid to give it a little twist with items like driftwood or small logs to act as bridges or pathways. I once found a perfectly twisted piece on a hike, and it became the highlight of my fairy abode. It’s like giving them a personal tour guide, leading them through their enchanted domain.
Layering terrain isn’t just about aesthetics; it creates hidden areas for fairies to frolic and explore. Just picture them peek-a-booing from behind rocks or sneaking through a flower patch. It’s all about adding that touch of magic that can only happen in their world.
7. Focal Points With Statues
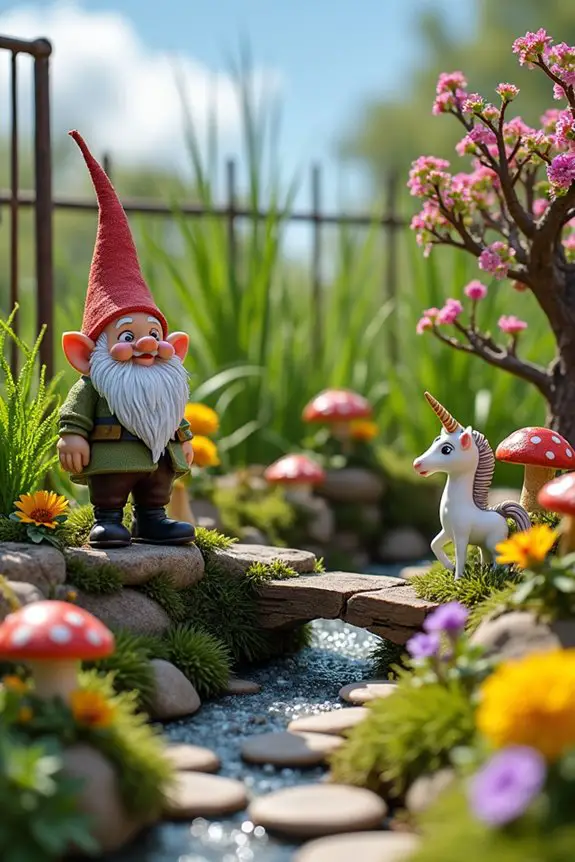
When it comes to designing your fairy garden, adding focal points with statues can really elevate the overall vibe. Not only do they serve as conversation starters, but they also bring a touch of magic and whimsy to your miniature landscape. Imagine charming fairies peeking out from behind a playful gnome or a wise old owl perched atop a toadstool. It creates a scene that feels alive and full of stories waiting to be told.
So, how do you choose the perfect statue for your fairy garden? Start by considering the theme you want to convey. Are you after a mystical woodland feel or a cheerful garden party? Maybe even an enchanted forest? Select a statue that complements that vision—be it an adorable fairy, a curious animal, or a miniature castle.
I remember my first statue; I thought a dancing fairy would add a lively touch. Instead, the wide-eyed gnome I stumbled upon became the star of the show. Who knew he’d be so charming?
Placement is key for making these statues work their magic. Consider using them as a central point or sprinkle them throughout for delightful surprises. A well-placed statue can guide the viewer’s eye through your garden, drawing attention to various elements and creating a sense of discovery.
When I positioned a tiny unicorn near some colorful flowers, it transformed the area into a dreamy kingdom. I swear I could almost hear twinkling laughter every time I walked by.
To give your statue even more impact, frame it with plants or decorative stones. This not only creates a cozy nook but also adds layers and texture to the scene. Imagine a fairy sitting on a toadstool, surrounded by a burst of vibrant flowers—it’s like setting the stage for a magical performance. And trust me, the fairies absolutely adore a good show.
Remember to have fun with this process. Each statue has its own charm and personality, so don’t shy away from mixing different styles or sizes. I once paired a tiny fairy with a towering dragon to see how they’d get along; spoiler alert—they became best friends in my head.
Your fairy garden is your canvas, so let your imagination run wild and create a whimsical landscape that both you and the fairies will adore.
8. Fairy Garden Color Schemes

Creating a beautiful fairy garden goes beyond just picking cute figurines; color plays a massive role in setting the tone! Choosing the right color scheme not only makes your miniature landscape pop visually but also invites that magical vibe we all crave. Imagine soft pastel flowers, combined with bright green foliage, all working together to create a whimsical wonderland that feels straight out of a storybook.
When exploring color schemes for your fairy garden, think about your overall theme. Are you going for a dreamy, soft aesthetic? Then gentle pinks, purples, and light blues can weave a fantasy feeling. For something with a bit more pizazz, don’t be shy to throw in bold colors like sunflower yellows and vibrant reds. I once tried a super bright color palette, and while it felt a bit like a circus at first, it turned out to be such a joyful spectacle that the fairies practically danced around it.
Now, let’s talk about balance. Too many colors can feel overdone, like a cake piled high with frosting (and not the yummy kind). Instead, pick a primary color, then two or three accent colors to complement it. For example, if you choose a bright blue, think about pairing it with crisp white flowers or lush green plants. This combination helps create visual harmony while still making sure your garden stands out.
I remember adding a couple of brightly colored stones to a more subdued scene, and it was like the garden suddenly woke up—color truly does have that power.
Don’t forget about the little details. Accents matter just as much, from the pots you choose to the mulch you lay down. Those tiny touches—like a teal planter or pastel pebbles—can seamlessly tie everything together. I once accidentally matched a flower pot to my favorite socks and let me tell you, that was a happy accident!
Finally, as you make your selections, let your own style shine through. Invest some time exploring different combinations until you land on one that just feels right. Sometimes, it takes a good bit of trial and error (trust me, I’ve tried more than one look that felt like it was meant for someone else) to nail the perfect fairy garden color scheme.
9. Fairy-friendly Furniture Placement
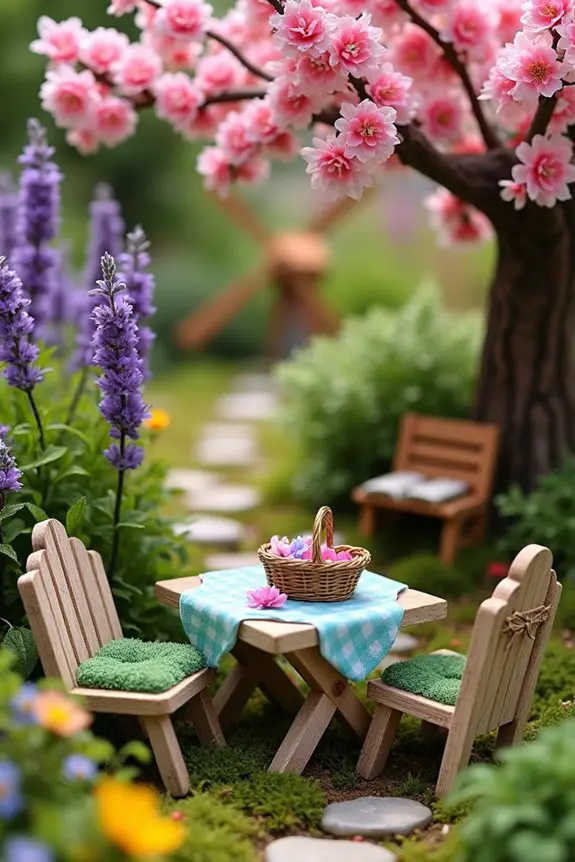
Finding the perfect spot for your miniature furniture is essential when creating a fairy garden that’s both functional and charming. Think of it like arranging a cozy living room—everything needs to fit just right, ensuring both fairies and visitors can admire the magic. Good furniture placement enhances the overall vibe of your fairy garden, making it feel welcoming and full of life.
Start by visualizing the flow of your space. Do you want a little café corner with tiny tables and chairs, or perhaps a peaceful reading nook with a miniature bench under a blossom tree? That’s the fun part! You can create gathering spots that inspire stories or provide sweet little retreats for your frolicking fairies. Just be sure to leave some space for path-making too.
Trust me, I once crammed too many furniture pieces into a tiny corner and ended up with what can only be described as fairy Tetris. It was amusing but complicated.
Next, consider the proportions. Tiny pieces work best when they complement the size of your garden, allowing room for plants and other whimsical elements to shine. If your garden is the size of a shoebox, don’t go plopping down a grand oak table. Instead, a petite picnic set or a small hammock can create a cozy nook that feels just right.
I made the mistake of using oversized furniture once, and my fairies ended up looking like real estate agents showing off a mansion. Not the vibe I was going for.
Now, think about layering and height. Arrange your furniture at different levels to create an inviting, dynamic landscape. Place taller items, like gardening tools or whimsical windmills, toward the back, while dainty chairs and tables can take center stage.
This gives your garden depth and draws the eye, making it feel more like a scene from a charming storybook. My sister once advised me to keep it at eye-level when viewing my garden. That was a game-changer—no more hunching or straining to appreciate my fairy creations.
Lastly, let your personality shine through! Don’t hesitate to mix and match furniture styles—an eclectic design can give your fairy garden a playful character. I love the idea of combining rustic elements like twig benches with brighter, modern pieces.
It keeps the spirit light-hearted and whimsical, just as it should be in a fairy world. Make it a little messy, a little magical, and rest assured that the fairies will feel right at home. After all, it’s their world—you’re just the designer.
10. Creative Layout Ideas
Creating a layout in your fairy garden is like crafting a delightful little story—a place where imagination can roam free. The layout not only serves a practical purpose but also sets the mood, inviting visitors (and fairies) to explore every nook and cranny. With some clever arrangement, you can make your mini landscape feel vibrant, alive, and absolutely enchanting.
First up, consider making a main pathway that winds through your garden. It’s like the yellow brick road but for fairies! This can be as simple as a line of tiny stones or even colorful pebbles. Pathways provide structure, guiding your eyes and your visitors to different areas. I once tried to wing it and ended up with a jumbled mess. Let’s just say my fairies were definitely not using their GPS.
Next, think about creating distinct zones within your garden. Maybe a reading nook under a flowering tree, a whimsical café with miniature pastries, and a sparkling pond for fairies to dip their toes. These sections allow for varied experiences and can spark different stories in your mind. I love adding a tiny swing between two branches—it’s a perfect spot for some fairy fun and laughter. Just be careful not to create too many zones in a small garden, or it can turn into a game of fairy hide-and-seek that no one wants to play.
Layering is another effective technique. Use plants of varying heights to create depth in your landscape. Plant taller species toward the back and shorter ones up front. It not only draws the eye but also mimics the natural landscapes you see outdoors. I once ended up with an overgrown wildflower situation that turned my fairy garden into a jungle. Note to self: not all fairies are equipped for wilderness survival.
Incorporate decorative elements like fairy houses, tiny bridges, or even whimsical signs pointing to various attractions in your garden. This adds character and a sense of story. I’ve made signs like “Fairy Post Office” or “Magical Herb Garden” that always bring a smile. It’s amazing how a little label can open a whole world of creativity and imagination.
Finally, and most importantly, let your personality shine through. Use items that resonate with you—it could be a little piece from your travels or a handmade item that tells a story. Mix styles, colors, and textures to create a playful, inviting atmosphere. I once used an old teacup as a fairy pond. Ridiculous, yes, but it made the garden feel like my own little wonderland.
With these layout ideas, your fairy garden can become a whimsical miniature landscape where magic is just around the corner. So grab your tools, let your imagination run wild, and create a space that feels like a cozy storybook waiting to be explored. After all, in the domain of fairy gardens, anything goes!
Maintenance and Care Guidelines
While you might imagine that the magic of a fairy garden can operate on its own, keeping it vibrant and enchanting takes a bit of effort on your part. Regularly check for weeds—those pesky invaders sneak in when you least expect it.
Water your plants, but don’t drown them; think of it like giving a drink, not a bath. Just imagine a very thirsty fairy, confused by a puddle.
Don’t forget to trim any overzealous plant growth and refresh your DIY fairy garden ideas. Add new elements like tiny furniture or whimsical stones to keep it fresh and exciting.
And trust me, a little maintenance goes a long way in keeping your garden’s charm alive. So, roll up those sleeves and enjoy the magic!

